


As of the time of this article, the update which contains WSL 2 is still only available via the Windows update fast track. This means that the first step for this process is going to involve visiting your Windows Update panel, clicking on the Windows Insider Program–cleverly named to provide the WIP acronym–and clicking “Get started,” which will prompt for your choice of update tracks. Ensure that “fast” is selected, and start booting up a game to pass the time.
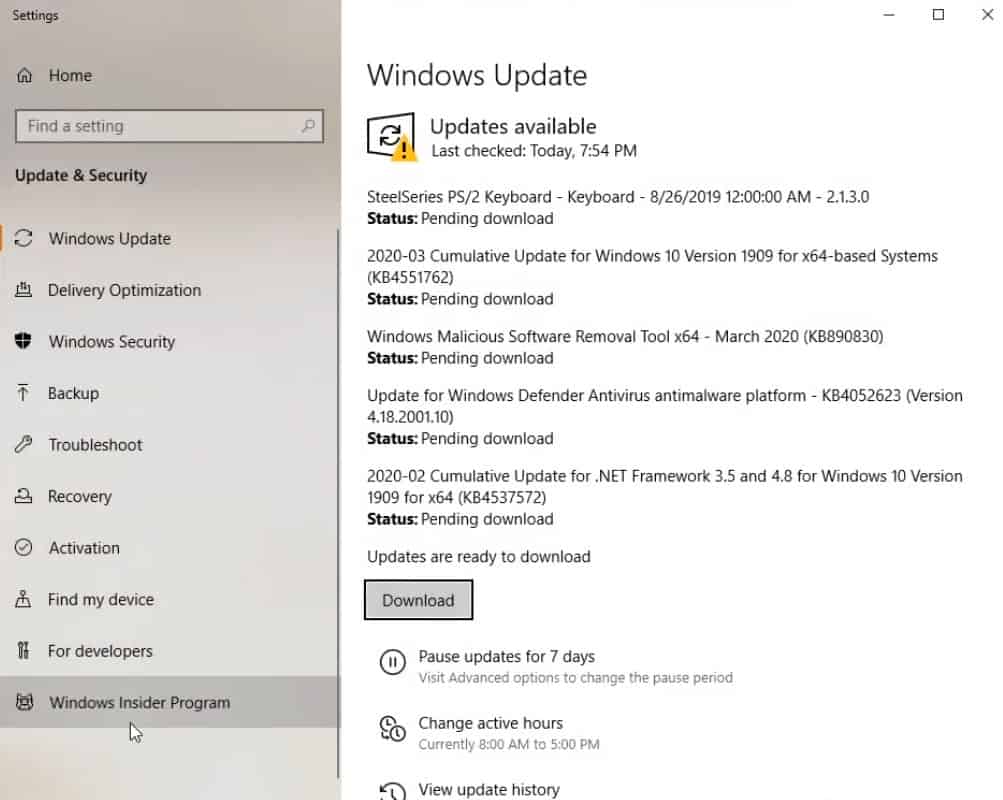
You’re now going to be subjected to multiple restarts and Windows updates until you finally either reach a version at or above 18917 , or run out of updates. Should you run out of updates, you’ll have to tell Windows to check for new updates.
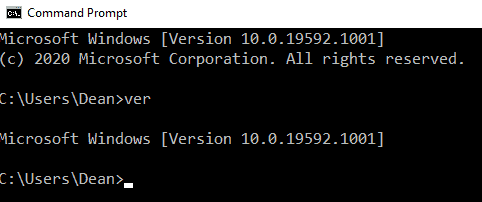
If you’re unsure of which version of Windows you’re running, you can check by opening up a command prompt and typing “ver”.
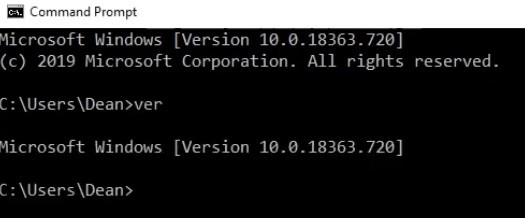
My version as of the time of this article is 19592. You’re probably looking for anything around that number or later, and you’ll be fine.


2 replies on “WSL 2 Setup in Under 5 Minutes to run Linux on Windows 10”
[…] WSL 2 Setup in Under 5 Minutes to run Linux on Windows 10 […]
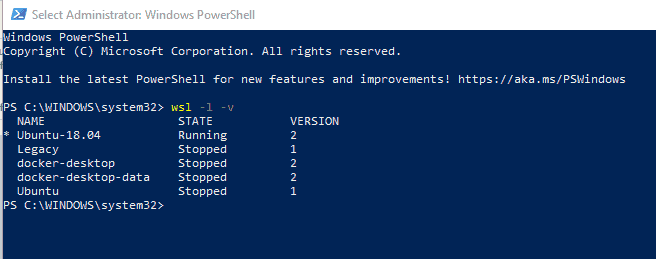
Gonna need to install the WSL 2 update package from the following URL to move past the “Kernel requires an update” warning
https://docs.microsoft.com/en-us/windows/wsl/install-win10#step-4—download-the-linux-kernel-update-package