WSL Localhost Docker in Browsers can be Hard
Docker applications in Windows Subsystem for Linux 2 (WSL2) need to be bound to the IP address 0.0.0.0 in order to be accessed via WSL localhost in a browser due to the way networking is set up in WSL2. When you run an application inside a Docker container, it’s isolated from the host system by design. By default, services within the Docker container bind to the container’s internal IP address. However, this internal IP is not directly accessible from the host system (in this case, the Windows system). This is the primary reason why it’s necessary to bind the application to 0.0.0.0, which stands for all IP addresses, thereby including the host IP address.
This configuration essentially makes the Docker service available on all network interfaces, including the one that the Windows host can access. Binding to 0.0.0.0 allows Docker to listen for connections not just from within the Docker container or the Linux subsystem, but also from any other system, including the Windows host system. Therefore, when you open a web browser on your Windows host and point it to localhost, you can connect to the Docker service running inside the WSL2 instance. This is crucial during the development process as it allows for testing and debugging in a setup that closely mirrors a live production environment.
Video Tutorial
If you prefer videos to text, this video covers essentially the same topics that this blog does. By giving an example using both Ruby on Rails 7.1 as well as Vite, it shows the key steps, regardless of app, that a dev needs to take. These steps include binding to 0.0.0.0, and optionally creating a Docker network.
Although the Docker network is created, I don’t believe it is necessary. The key takeaway is you always need to set your framework or app to run on 0.0.0.0. If your app is running something else, you’ll need to do some searching in order to learn how to bind to the address if you wish to access via localhost.
The source code is also available here.
Requirements
This tutorial assumes you already have Docker installed, as well as the requirements for your application. For Docker in WSL, typically you can install the Docker Desktop Client. It should be noted that this now has a payment structure which may affect you depending on your business. Alternative open-source clients, such as Podman may be a better way to go depending on your needs.
A Docker client isn’t necessary, it just makes stopping running containers a bit easier. All of the buttons in the client can also be run as commands in your terminal. I personally also use it as a way to manage images and volumes, as they can take up a fair amount of space. That said, having a 1-click view of the logs for a Rails app is also a nice benefit.
The Ruby on Rails App
I’ll be covering both Ruby on Rails as well as Vite. If you’d like to follow along, pick whichever is appropriate for you. This first section covers the Ruby on Rails 7.1 app.
Step 1 - Create the App
You can skip this step if you already have a Rails application. I like providing people a means of following along from scratch for learning purposes. It is not required.
					# Creating the Ruby on Rails 7.1 app

rails new rails_app --main
cd rails_app
rails g scaffold post title body:text
rails db:migrate
Step 2 - Edit the Dockerfile
Now open the Dockerfile located at the root of your Rails app. In this Dockerfile, we need to change the Rails environment from production to development. This is done on line 11.
Then, we need to change the CMD that the container runs to include a bind for 0.0.0.0. This is done on line 64. This is the key line that will allow the app to be accessible on localhost via a browser. When you’re done, your Dockerfile should resemble the following.
					# syntax = docker/dockerfile:1

# Make sure RUBY_VERSION matches the Ruby version in .ruby-version and Gemfile
ARG RUBY_VERSION=3.2.0
FROM registry.docker.com/library/ruby:$RUBY_VERSION-slim as base

# Rails app lives here
WORKDIR /rails

# Change line 11 to "development" from "production"
ENV RAILS_ENV="development" \
    BUNDLE_DEPLOYMENT="1" \
    BUNDLE_PATH="/usr/local/bundle" \
    BUNDLE_WITHOUT="development"


# Throw-away build stage to reduce size of final image
FROM base as build

# Install packages needed to build gems
RUN apt-get update -qq && \
    apt-get install --no-install-recommends -y build-essential git libvips pkg-config

# Install application gems
COPY Gemfile Gemfile.lock ./
RUN bundle install && \
    rm -rf ~/.bundle/ "${BUNDLE_PATH}"/ruby/*/cache "${BUNDLE_PATH}"/ruby/*/bundler/gems/*/.git && \
    bundle exec bootsnap precompile --gemfile


# Copy application code
COPY . .

# Precompile bootsnap code for faster boot times
RUN bundle exec bootsnap precompile app/ lib/

# Precompiling assets for production without requiring secret RAILS_MASTER_KEY
RUN SECRET_KEY_BASE_DUMMY=1 ./bin/rails assets:precompile


# Final stage for app image
FROM base

# Install packages needed for deployment
RUN apt-get update -qq && \
    apt-get install --no-install-recommends -y curl libsqlite3-0 libvips && \
    rm -rf /var/lib/apt/lists /var/cache/apt/archives

# Copy built artifacts: gems, application
COPY --from=build /usr/local/bundle /usr/local/bundle
COPY --from=build /rails /rails

# Run and own only the runtime files as a non-root user for security
RUN useradd rails --create-home --shell /bin/bash && \
    chown -R rails:rails db log storage tmp
USER rails:rails

# Entrypoint prepares the database.
ENTRYPOINT ["/rails/bin/docker-entrypoint"]

# Start the server by default, this can be overwritten at runtime
EXPOSE 3000
# Change this line to include "-b", "0.0.0.0"
CMD ["./bin/rails", "server", "-b", "0.0.0.0"]
Step 3 - Run the App to Access WSL Localhost in Browser
This is the final step. We’ll need to build an image and then run that image as a container. The commands will use an optional “Rails” Docker network. They’ll also run with the -d flag, which just runs the container in the background. This is the daemonize flag.
					# Build an image and name it "rails_app"
docker build . -t rails_app

# Optionally, if you want to also use a Docker network, I made mine with this command:
docker network create rails

# Run a container from the "rails_app" image and connect it to the "rails" network
docker run -d -p 3000:3000 --network rails rails_app
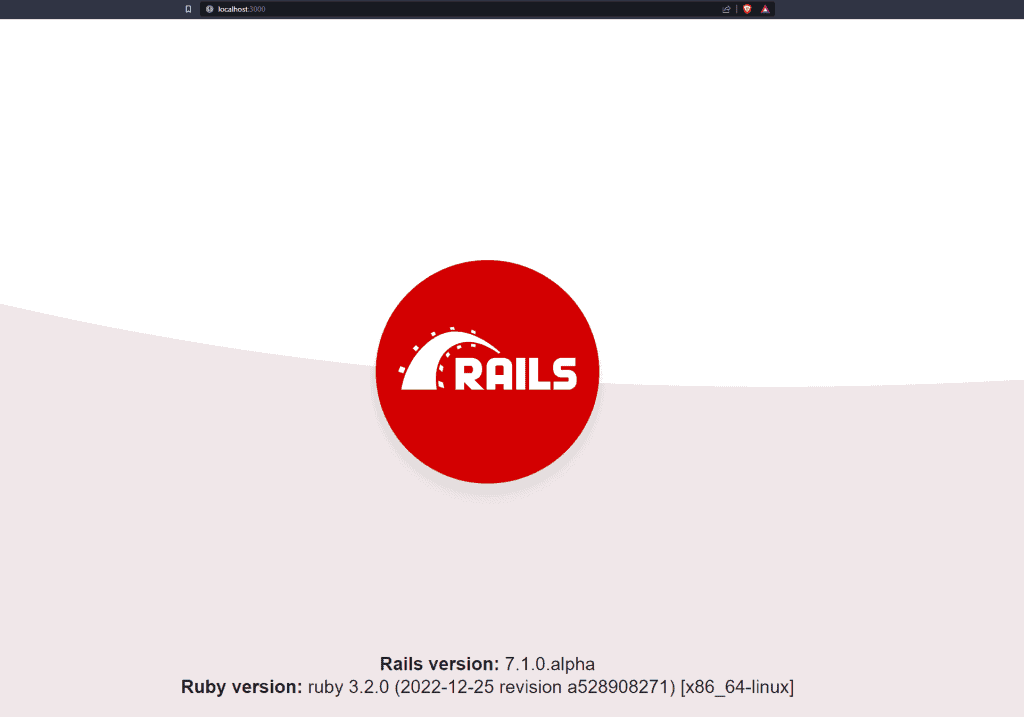
And there you go! Ruby on Rails 7.1 running in WSL localhost accessed via a browser. Not that complicated, and yet I keep forgetting how to do it haha.

The Vite App
Second verse, same as the first. This time we’ll be looking at how to bind a Vite app to 0.0.0.0. This allows us to test our React, Svelte, Vue, etc… apps in a Docker container. You know, without bloating our devices with node_modules lol.
Step 1 - Create the App
You can skip this step if you already have a Vite application. I like providing people a means of following along from scratch for learning purposes. It is not required.
					# As always, you need to have NPM or another package manager installed.
npm create vite@latest
cd vite_app
Step 2 - Create the Dockerfile
Thankfully the dockerfile for a quick little Vite app such as this is small. Here’s the entire thing in under 10 lines. Just remember to change the port if you decide to use a different one.
					FROM node:alpine
WORKDIR /app
COPY . .
RUN npm install
EXPOSE 5173
CMD ["npm", "run", "dev"]
Step 3 - Update the Vite Config
Vite is a little different when it comes to binding to 0.0.0.0. In order to access WSL localhost you’ll have to update your Vite.Config.Ts (Or Vite.Config) file. You’ll need to add a server and a host block. Not a big deal, but it can be if you forget to do it!
					import { defineConfig } from "vite";
import react from "@vitejs/plugin-react";

// https://vitejs.dev/config/
export default defineConfig({
  plugins: [react()],
  // Add this server block.
  server: {
    host: "0.0.0.0",
  },
});
Step 4 - Run the App to Access WSL Localhost in Browser
This is the final step. We’ll need to build an image and then run that image as a container. The commands will use an optional “Vite” Docker network. They’ll also run with the -d flag, which just runs the container in the background. This is the daemonize flag.
					# Build an image and name it "vite_app"
docker build . -t vite_app

# Optionally, if you want to also use a Docker network, I made mine with this command:
docker network create vite

# Run a container from the "vite_app" image and connect it to the "vite" network
docker run -d -p 5173:5173 --network vite vite_app
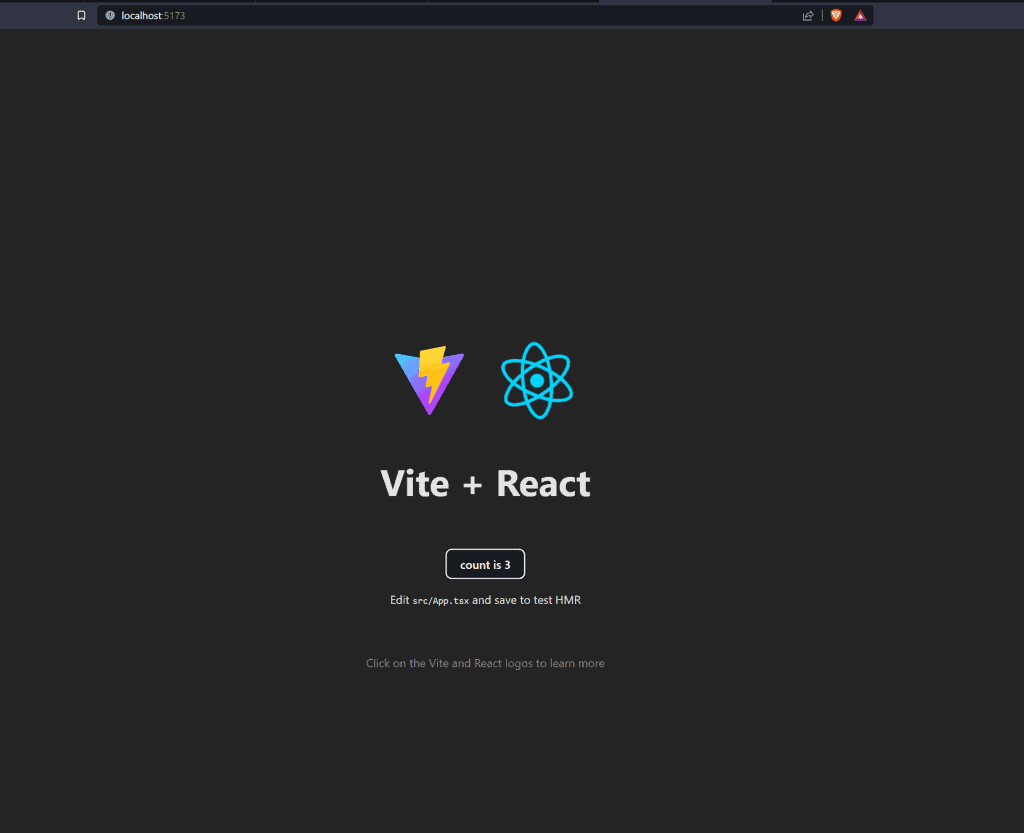
And there you go! Vite and React TS running in WSL localhost accessed via a browser. Not that complicated, and yet I keep forgetting how to do it haha.

Conclusion
In conclusion, this tutorial has (hopefully) provided an in-depth look at running Docker applications in Windows Subsystem for Linux 2 (WSL2) and made clear the necessity of binding these applications to 0.0.0.0. The need to do so emerges from the specific networking design of WSL2, where Docker services default to binding with the container’s internal IP address. This address, however, cannot be directly accessed from the host system, necessitating binding the applications to 0.0.0.0, representing all IP addresses, including the host’s. Such a configuration facilitates the availability of Docker services on all network interfaces, paving the way for connections from the Docker container, Linux subsystem, and other systems, including the Windows host system.
The post (hopefully) further demystified the process of running a Ruby on Rails 7.1 application and a Vite application in Docker within WSL2 with step-by-step guides. These tutorials took readers from setting the Rails environment and creating a Dockerfile through to building and running the Docker container. The process was mirrored for the Vite application, which included crafting a Dockerfile and making necessary adjustments to the Vite configuration. By following these steps, developers can ensure that their applications are accessible on localhost via a browser when run in WSL2, providing a setup conducive to efficient development processes. In sum, whether you’re working with Ruby on Rails 7.1 or Vite, this post has offered valuable insights into making the most of Docker and WSL2 for your development work. Or at the very least it (hopefully) got you up and running lol.

